
How to Create a User Account and Give Permission in Plesk Server?
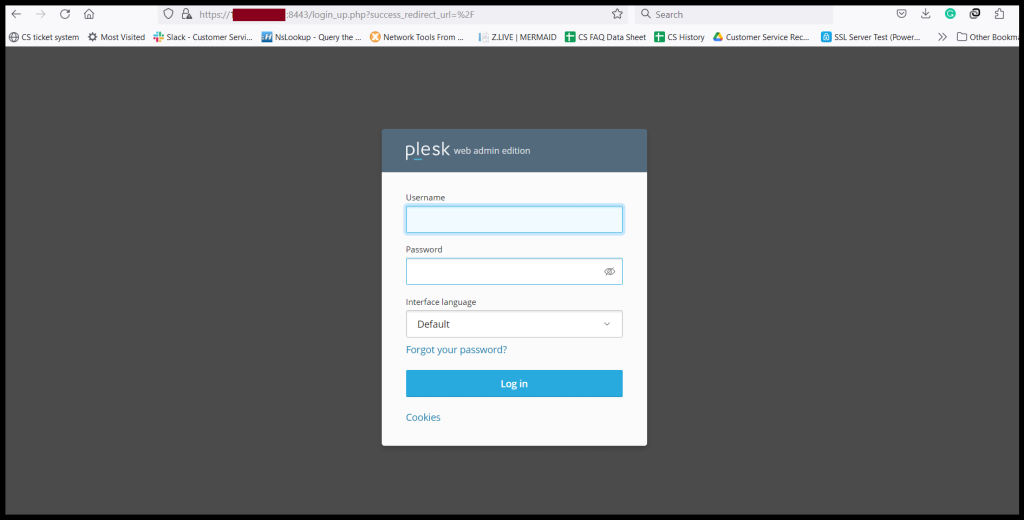
Step1. Login to the Plesk Panel, URL: https://123.45.67.89:8443/
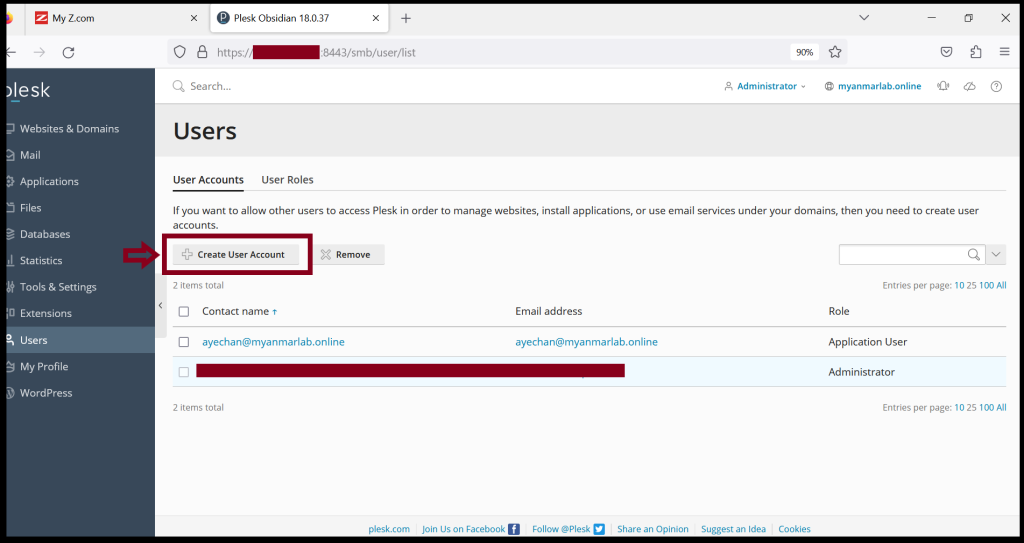
Step2. Click “Create User Account” From the Users Tag
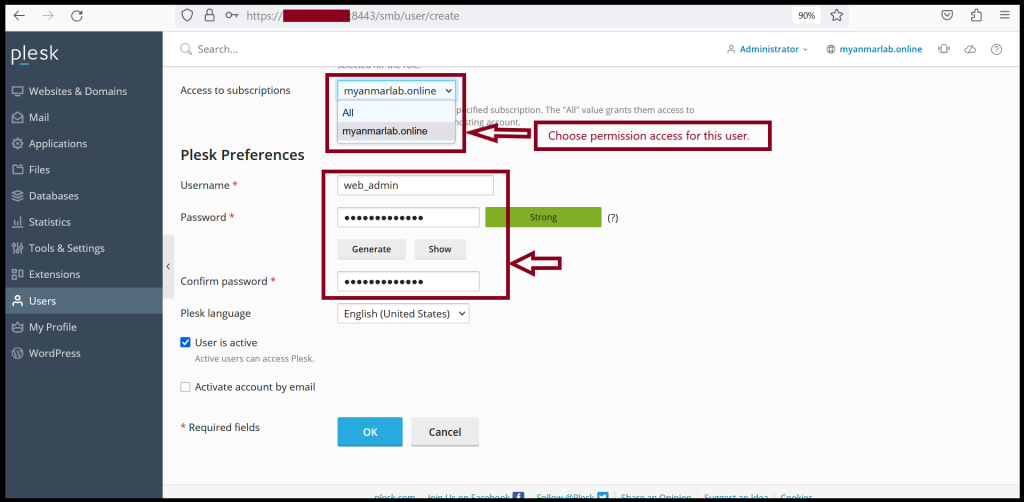
Step3. Please fill required information for the user account creation process.
Contact name:
Email address(or) External email address:
User role:

And then, Enter the username and password also. Click “OK“
Step4. Now, we can check our new user account information below image.

Step5. Now, we will try to log in with this account to the Plesk server, URL: https://123.45.67.89:8443/
Please login with the new user account.
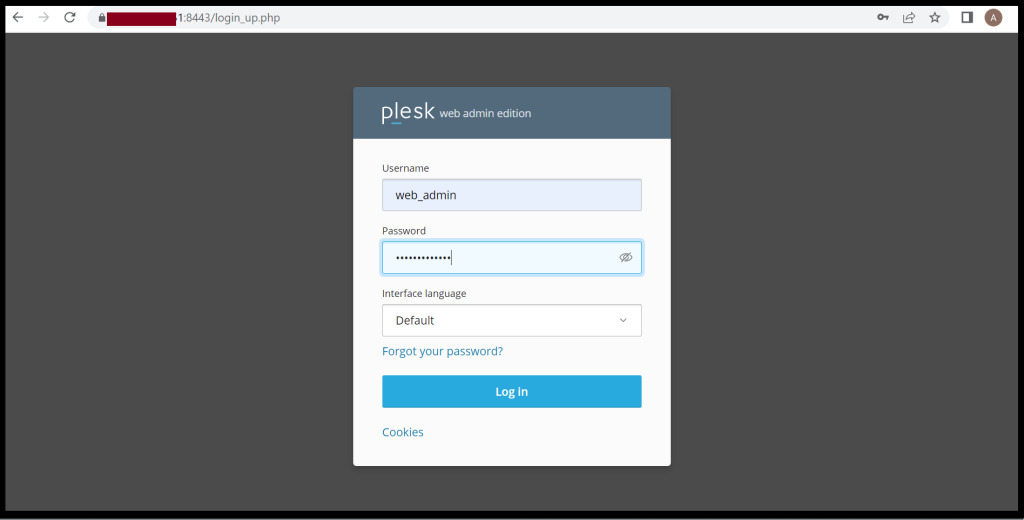
Step6. We can login successfully for the new user account to the Plesk server.
Thank you!!!