
How to Install and Configure NextCloud in Apache using CentOS8?
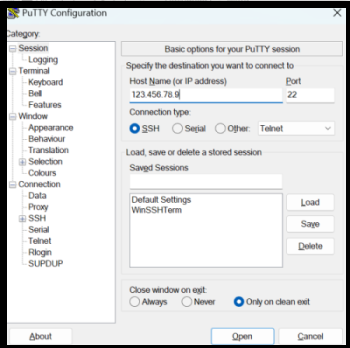
Step1. Login to the server with SSH.
Step2. Installing PHP and Apache.
[root@zcom-mm ~]# yum install epel-release yum-utils

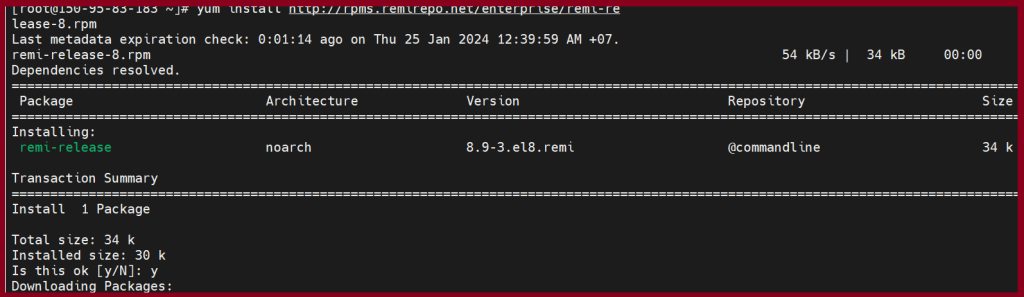
[root@zcom-mm ~] # yum install http://rpms.remirepo.net/enterprise/remi-release-8.rpm
To install the yum-utils package
[root@zcom-mm ~] # dnf install yum-utils

To enable the module stream for 8.2
[root@zcom-mm ~] # dnf module reset php
[root@zcom-mm ~] # dnf module install php:remi-8.2
[root@zcom-mm ~] # dnf update

Installing PHP and the required modules
[root@zcom-mm ~] # dnf install -y php php-cli php-gd php-mbstring php-intl php-pecl-apcu\ php-mysqlnd php-opcache php-json php-zip

Installing optional modules redis/imagick
[root@zcom-mm ~] #dnf install -y php-redis php-imagick

Step3. Install MariaDB 10.11 on CentOS8.
Firstly, Create a new repo file /etc/yum.repos.d/MariaDB.repo in your system and add below code:
[root@zcom-mm ~] # vim /etc/yum.repos.d/MariaDB.repo
# MariaDB 10.11 CentOS repository list - created 2024-01-24 18:19 UTC
# https://mariadb.org/download/
[mariadb]
name = MariaDB
# rpm.mariadb.org is a dynamic mirror if your preferred mirror goes offline. See https://mariadb.org/mirrorbits/ for details.
# baseurl = https://rpm.mariadb.org/10.11/centos/$releasever/$basearch
baseurl = https://mirror.kku.ac.th/mariadb/yum/10.11/centos/$releasever/$basearch
# gpgkey = https://rpm.mariadb.org/RPM-GPG-KEY-MariaDB
gpgkey = https://mirror.kku.ac.th/mariadb/yum/RPM-GPG-KEY-MariaDB
gpgcheck = 1

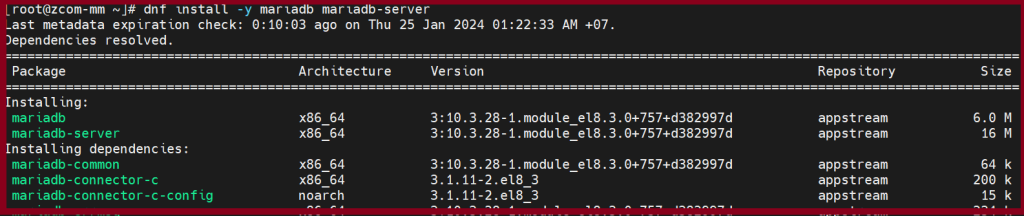
Step4. Install the MariaDB server and client packages.
[root@zcom-mm ~] # dnf install -y mariadb mariadb-server
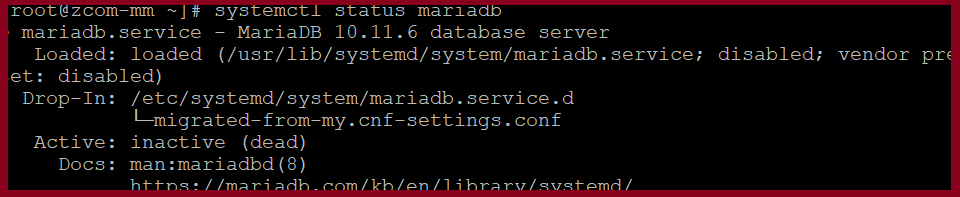
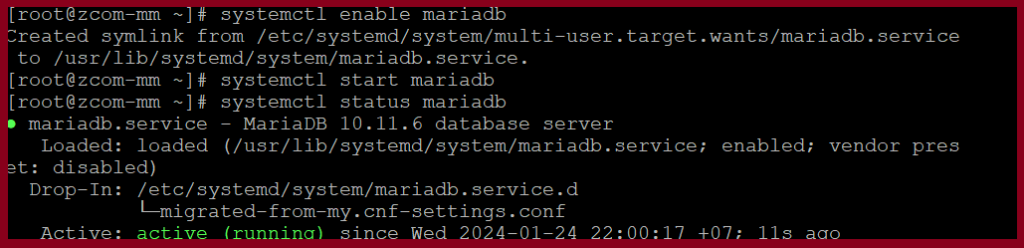
Step5. When the installation is finished, please check mariadb status.
[root@zcom-mm ~] # systemctl status mariadb
[root@zcom-mm ~] # systemctl enable mariadb
[root@zcom-mm ~] # systemctl start mariadb
[root@zcom-mm ~] # systemctl stautus mariadb
Step6.We need to secure your MariaDB installation using passwords and do some other changes. Please check the below instructions.
[root@zcom-mm ~] # mysql_secure_installation


Then you will need to install the redis service and enable it for start up on reboot using the following commands:
[root@zcom-mm ~] # dnf install -y redis
[root@zcom-mm ~] # systemctl enable redis.service
[root@zcom-mm ~] # systemctl start redis.service

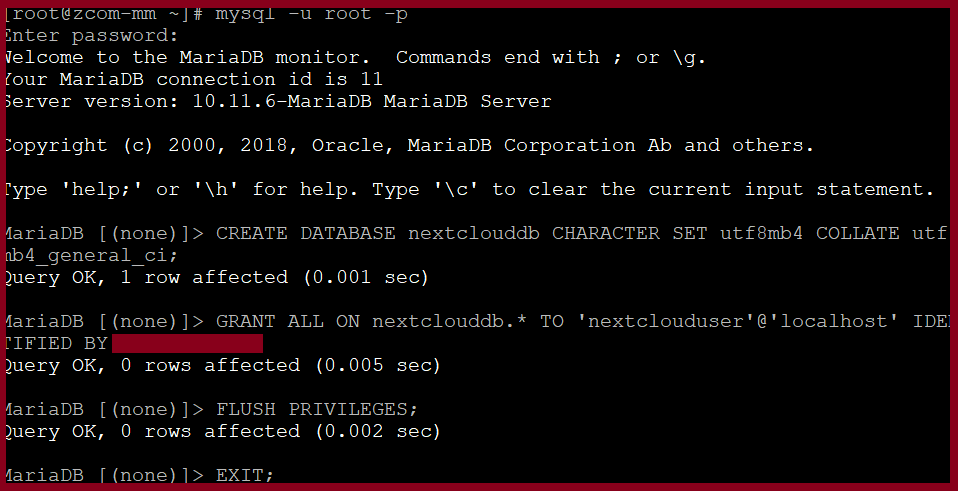
Step7.After installing and completing the configuration, connect to MariaDB server. Use the following command and login to the Mariadb Server.
[root@zcom-mm ~] # mysql -u root -p
Step7.1 Then create a database.
MariaDB [(none)]> CREATE DATABASE nextclouddb CHARACTER SET utf8mb4 COLLATE utf8mb4_general_ci;
Step7.2 Allow “nextclouduser” to access the “nextclouddb” database on localhost with a predefined password.
MariaDB [(none)]> GRANT ALL ON nextclouddb.* TO 'nextclouduser'@'localhost' IDENTIFIED BY 'change-with-strong-password';
MariaDB [(none)]> FLUSH PRIVILEGES;
MariaDB [(none)]>EXIT;
Step8. Then, we need to configure firewall setting.
[root@zcom-mm ~] # firewall-cmd --permanent --zone=public --add-service=http
[root@zcom-mm ~] # firewall-cmd --permanent --zone=public --add-service=https
[root@zcom-mm ~] # firewall-cmd --reload

Download the NextCloud.
Download the latest version of Nextcloud from the Nextcloud download page with wget command:
[root@zcom-mm ~] # wget https://download.nextcloud.com/server/releases/nextcloud-26.0.5.zip

Once the download is complete, extract the archive to the /var/www directory:
[root@zcom-mm ~] # unzip nextcloud-26.0.5.zip -d /var/www/

Set the ownership of the files inside the NextCloud directory so that apache user can write the data into it.
[root@zcom-mm ~] # chown -R apache: /var/www/nextcloud

Step9. Then configure the apache.
[root@zcom-mm ~] # vim /etc/httpd/conf.d/nextcloud.conf
Alias /nextcloud "/var/www/nextcloud/"
<Directory /var/www/nextcloud/>
Options +FollowSymlinks
AllowOverride All
<IfModule mod_dav.c>
Dav off
</IfModule>
SetEnv HOME /var/www/nextcloud
SetEnv HTTP_HOME /var/www/nextcloud
</Directory>

[root@zcom-mm ~] # systemctl restart httpd
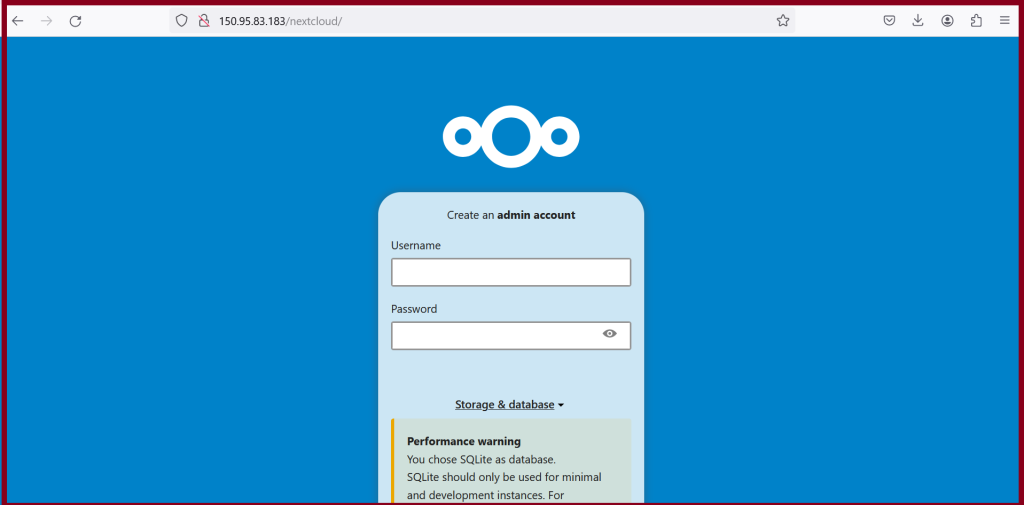
Open up your web browser, can access the nextcloud with ip (or) domainhttp://150.95.**.***/nextcloud/
Thank you!!!