
How to Save Image in CloudVPS?
The Save Image Function is a kind of Server clone function of CloudVPS. Let’s start to save the server’s image as follows.
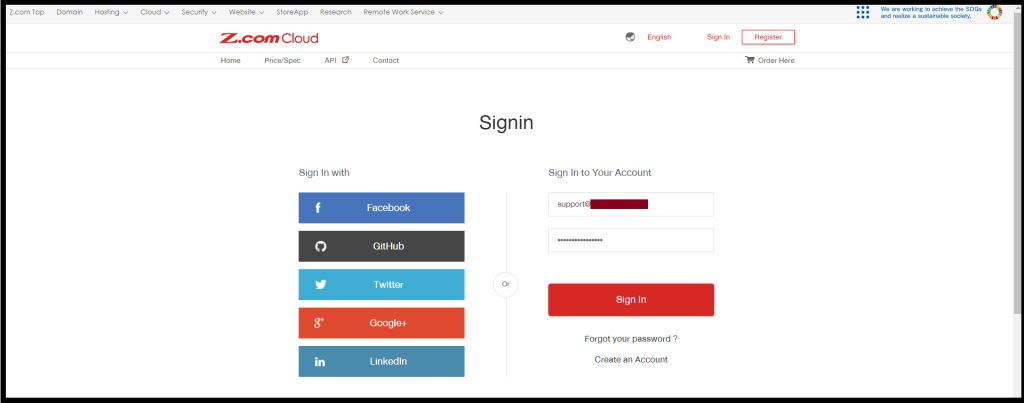
Step(1)- Login to the z.com account, https://cloud.z.com/mm/signin
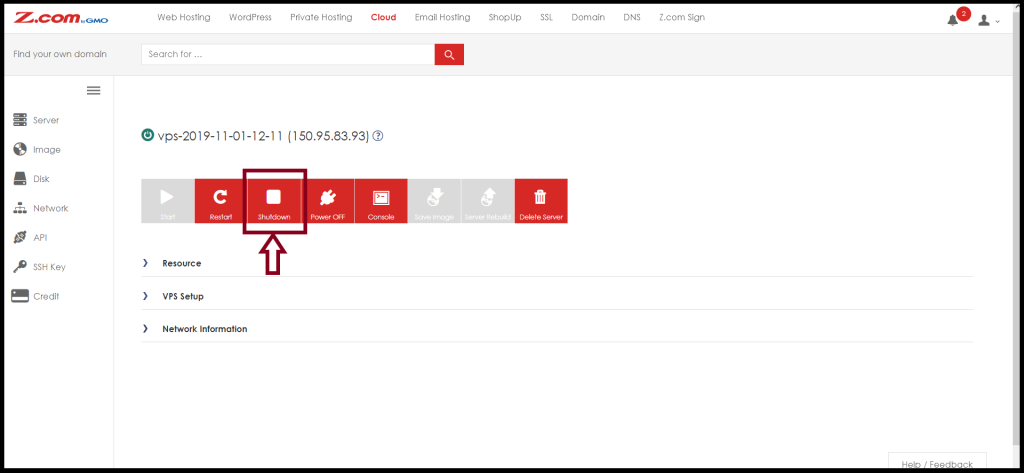
Step(2)- Click the “Cloud” Tab and Select your “CloudVPS Server“ Under the Name Tag

Step(3)- To do the Save Image of the Private Hosting Server, Please “Shutdown” the Server first
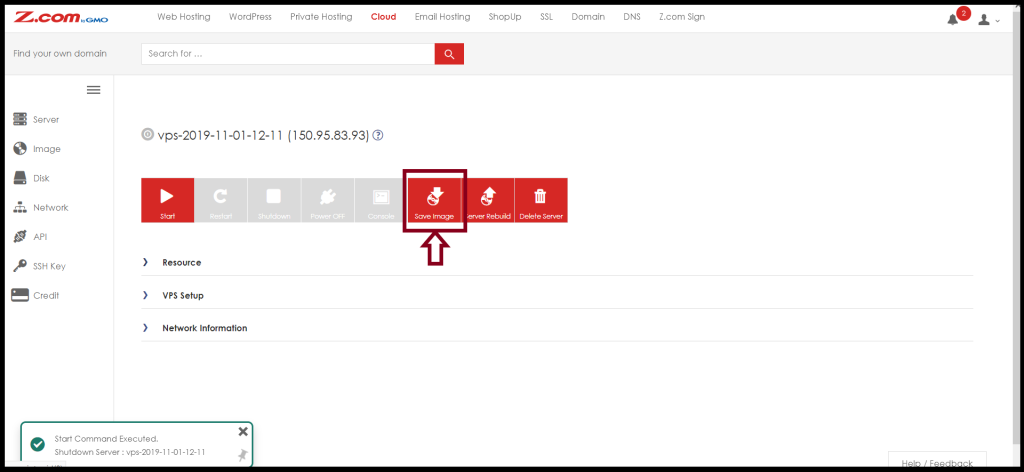
Step(4)- Click the “Save Image“
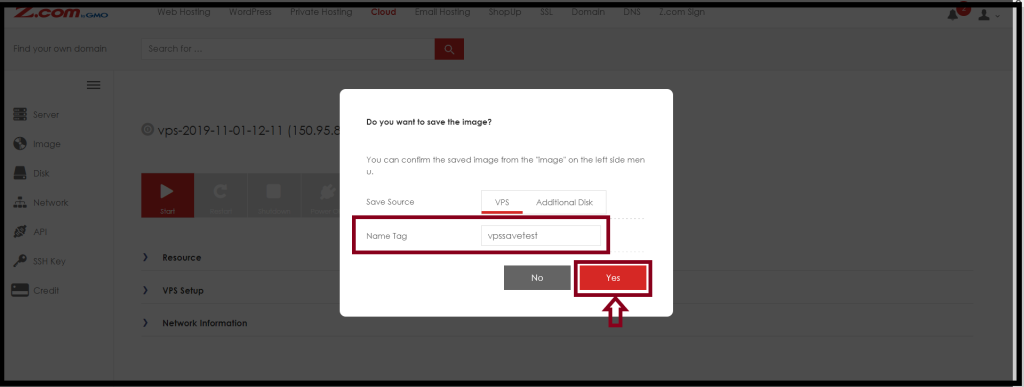
Step(5)- Choose the “Save Source“
- VPS: You want to save the image of the PrivateHosting(50GB)
- Additional Disk: If you have an additional disk(200GB or 500GB) of the server, please choose “Additional Disk”
And then, Please enter the Name Tag that you want to save the server’s name. And Click “Yes“
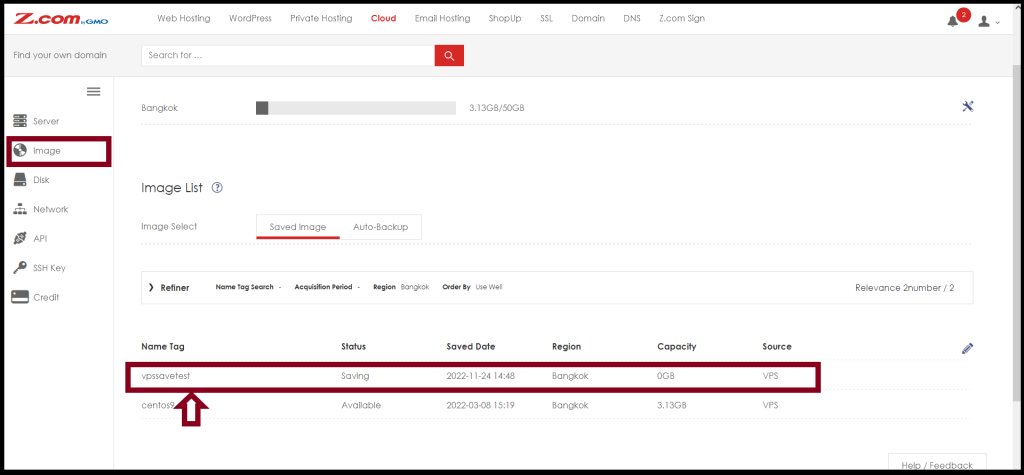
Step(6)- You can check your server’s image from the “Image” Menu on the Left side.
It may take some hours or minutes to complete the saved image. Before completion, the Capacity will be “0GB“.
After that, you can check your server’s image with actual capacity as follows.

Thank you!!!