
How to Access File Manager and Upload the Local Project File on the Plesk Server?
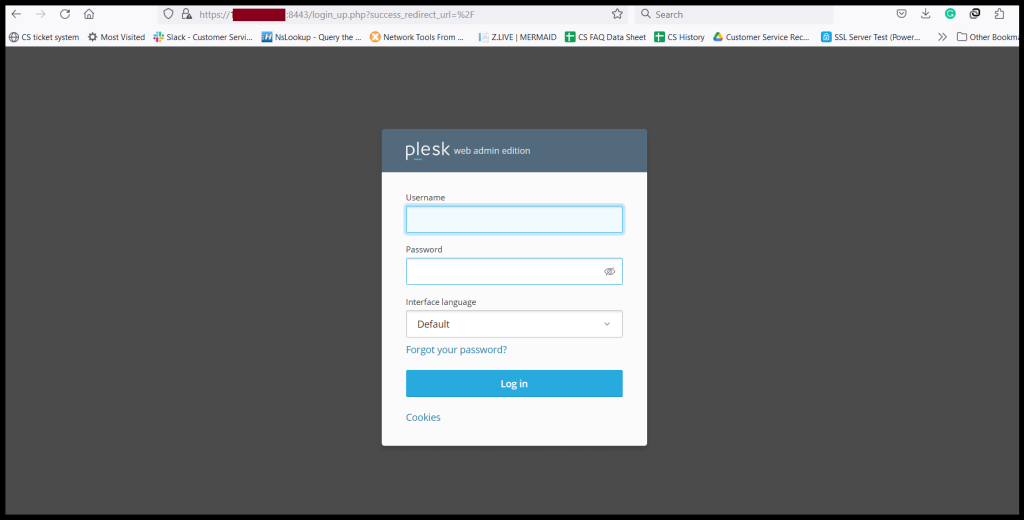
Step1. Login to the Plesk server.
URL: https://123.45.90.1:8443/
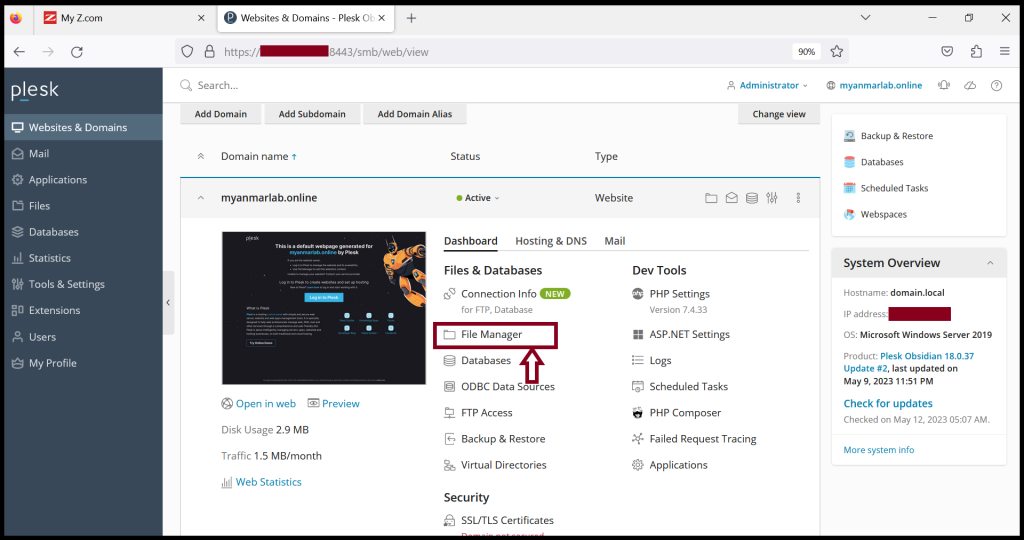
Step2. Go to “Websites & Domains” and click “File Manager“.
Step3. Click “Upload File”.
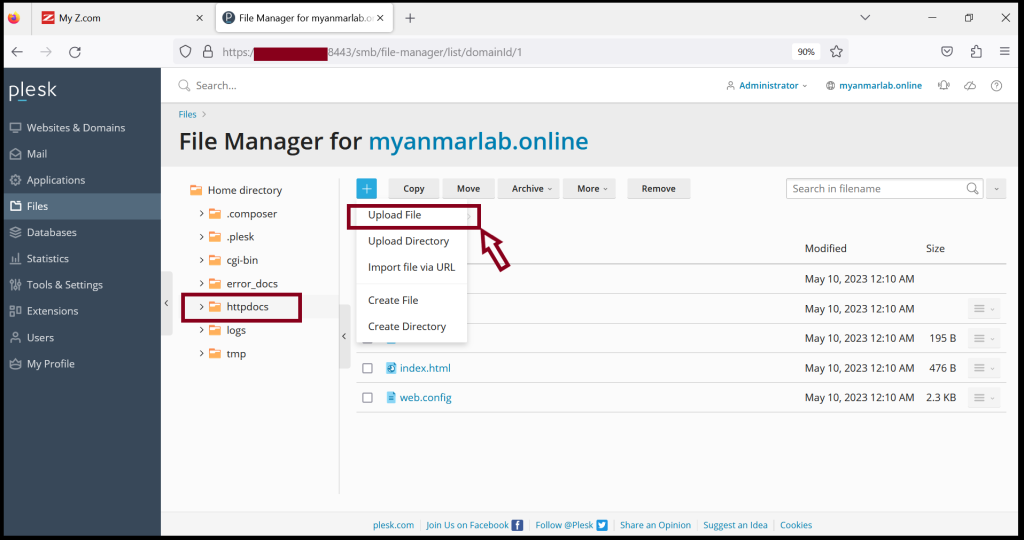
Now you can upload the local project file to the server manually.
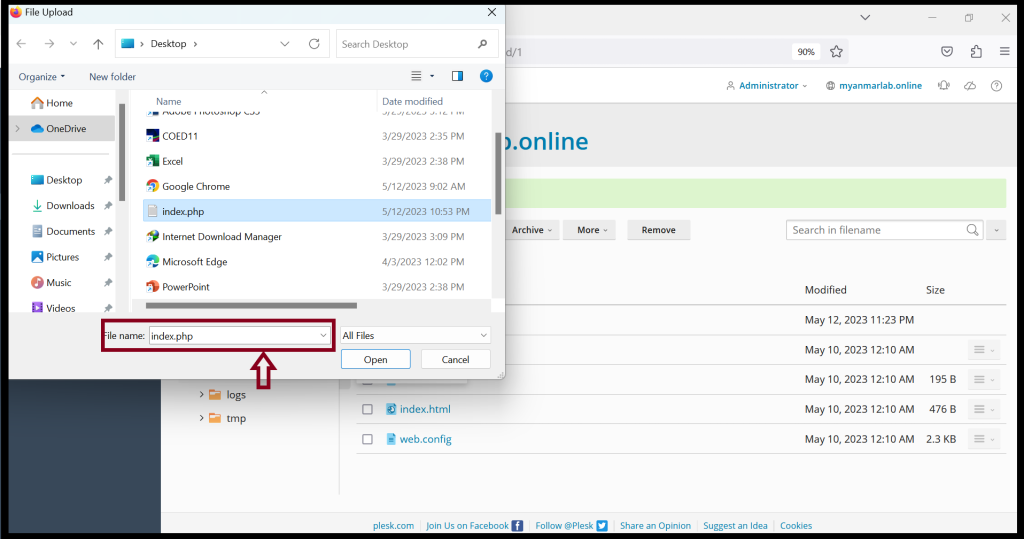
Step4. Please wait to complete the file uploading process.
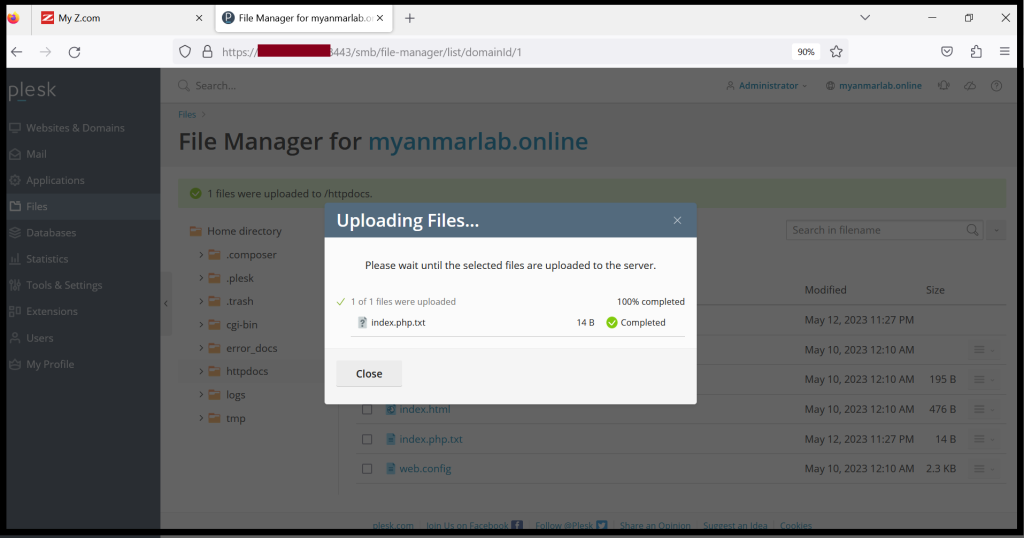
Now you uploaded the local files successfully.
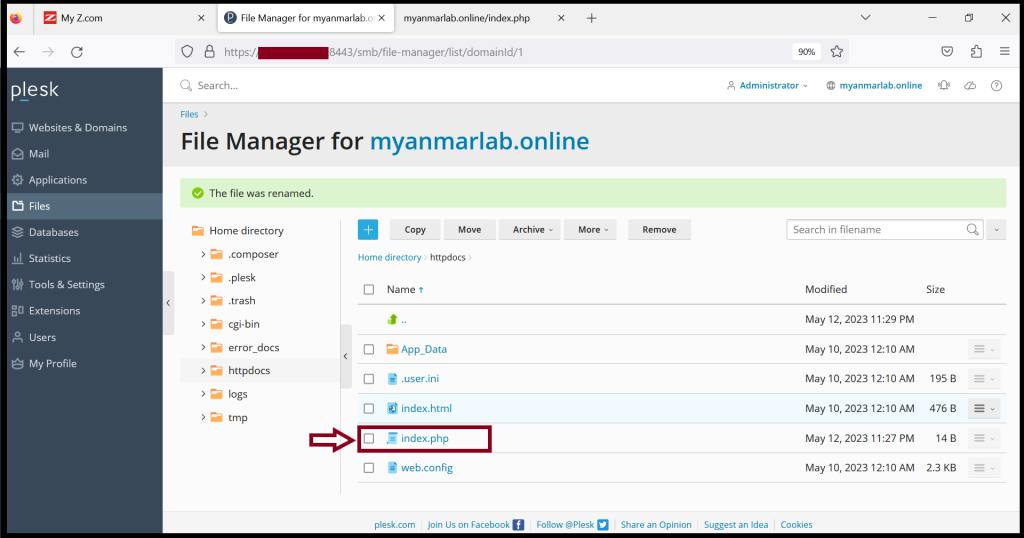
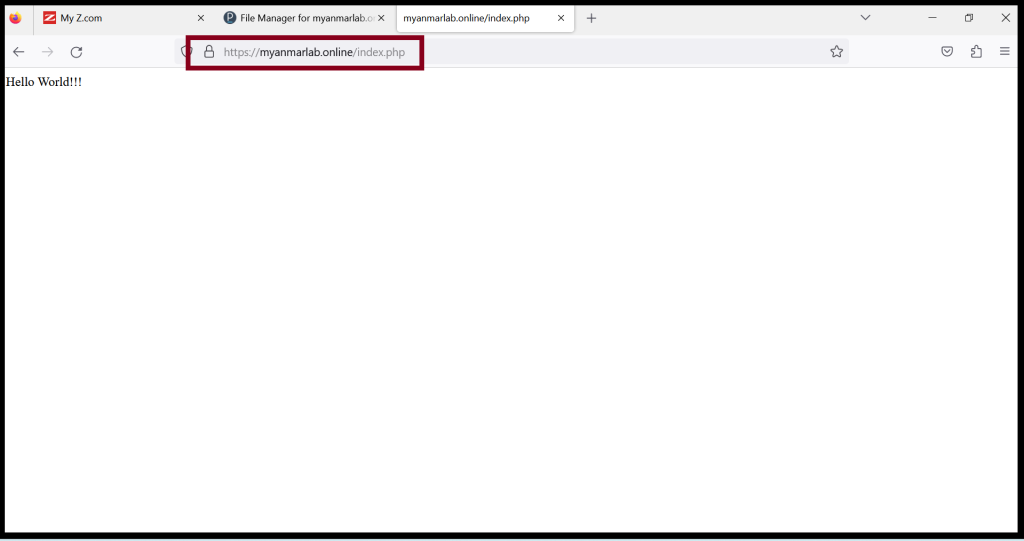
Step5. After the file uploading is completed and make some configurations, you can access the website.
Thank you!!!