
How to Upgrade the CloudVPS Server?
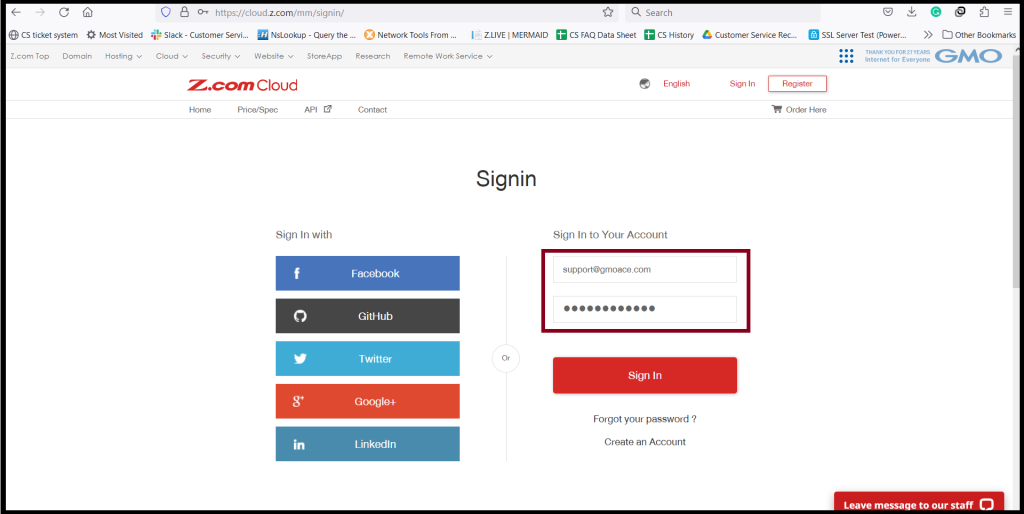
Step1. Log in to the My Z.com account. https://cloud.z.com/mm/signin/
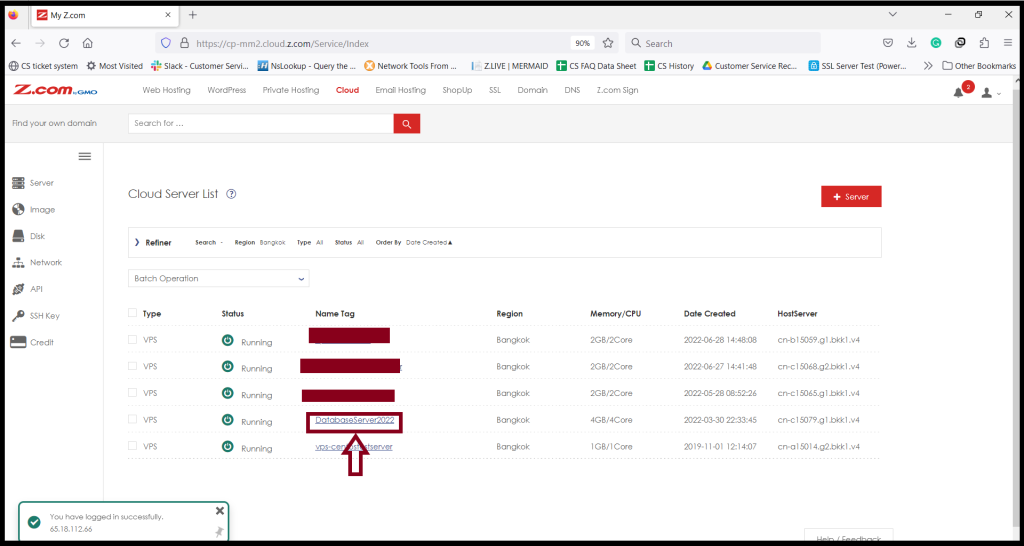
Step2. Go to Cloud Tab and Click the server under “Name Tag”.
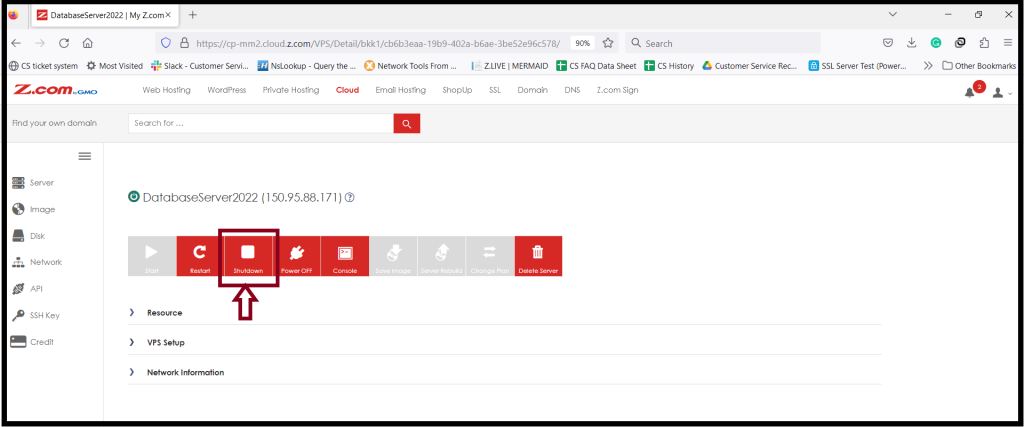
Step3. Before you upgrade the server, please kindly shut down the server first.
and “Shutdown” the server.
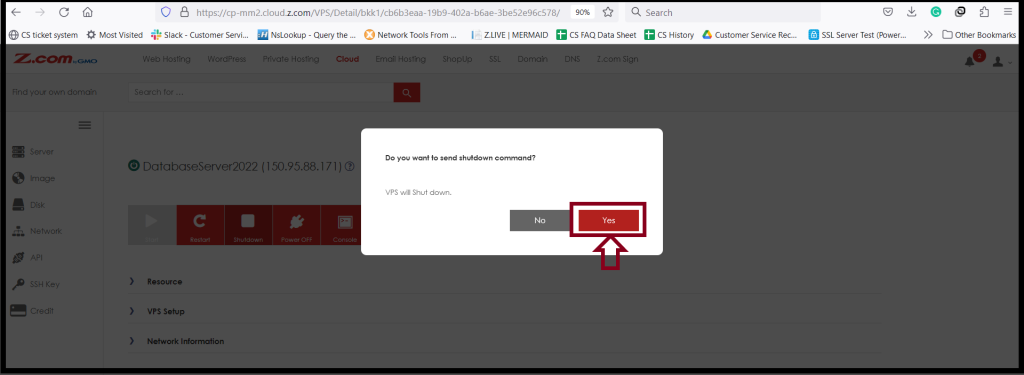
And also, Click “Yes“
After the server is shut down, you can change the plan (CPU/RAM).
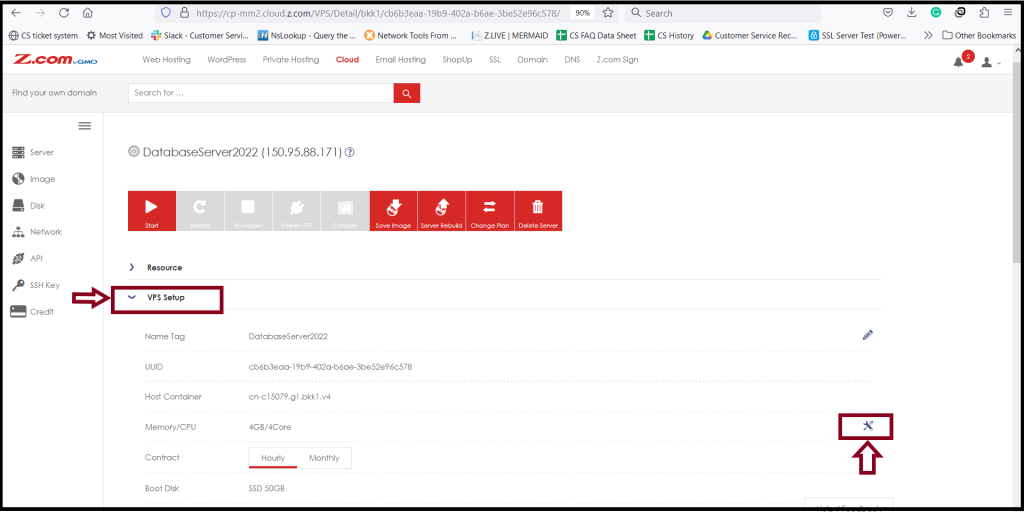
Step4. Click “VPS Setup” and “Change”.
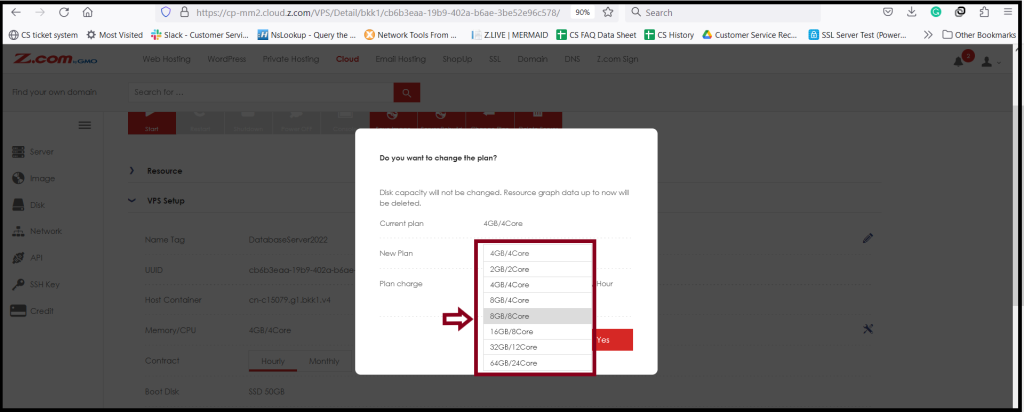
Step6. You can choose that you want to change the desired server specifications as follows.
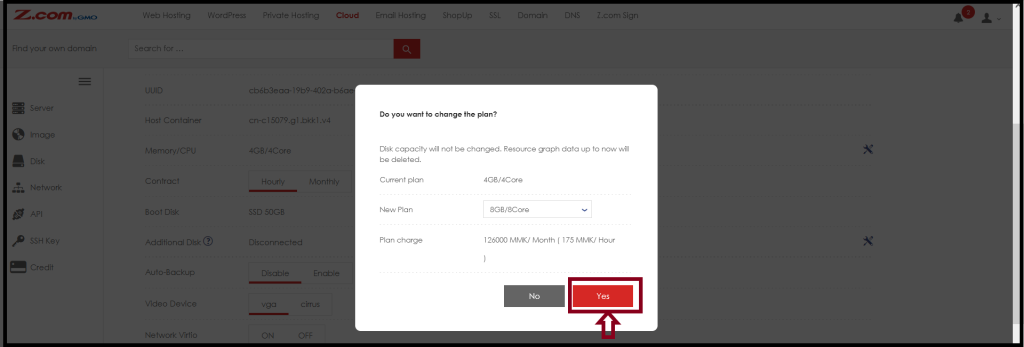
Step7. If you have finished choosing the server plan, click “ Yes” Please wait for the plan upgrade process.
Thank you!!!