
How to Mount Additional Disk on CloudVPS Server(CentOS)?
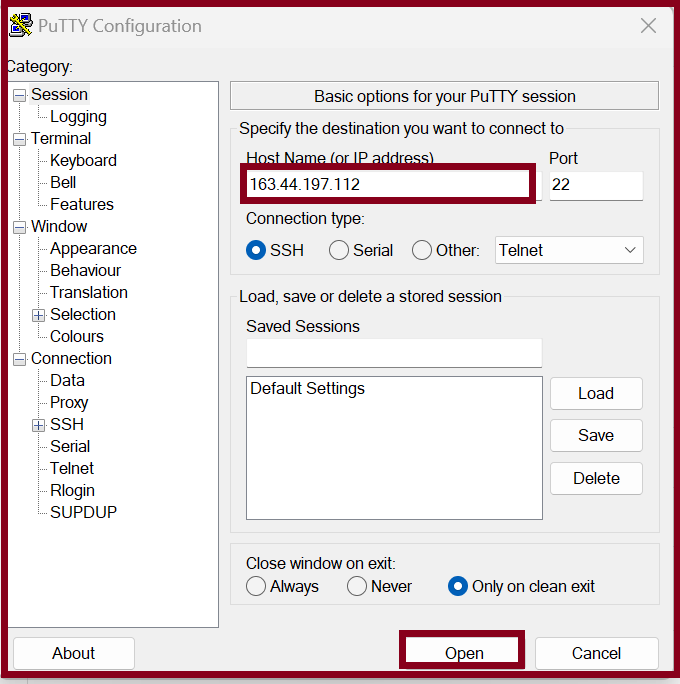
Step1. Login to the VPS server with SSH connection.
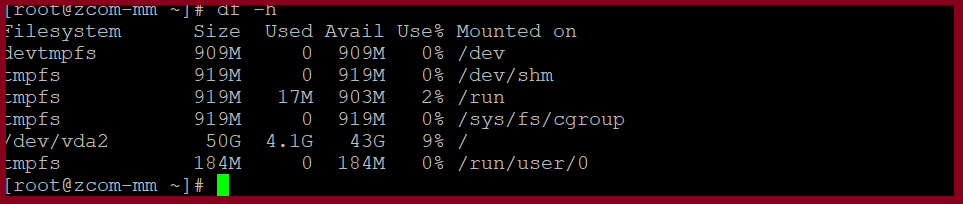
Step2. Check the current disk space in the server with the following command line.
[root@zcom-mm ~]# df -h
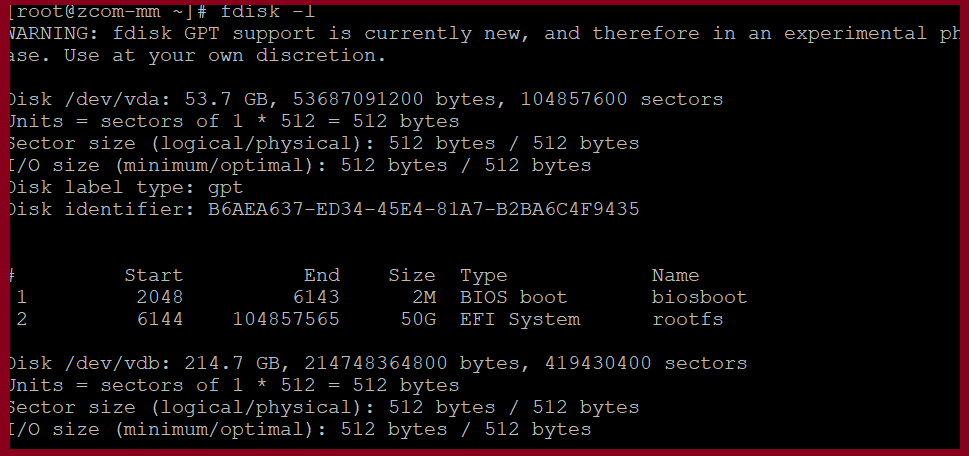
Step3. We can’t check additional disk partition path above command. Please check the following command to check the purchased disk. Then format the disk.
[root@zcom-mm ~]# fdisk -l
[root@zcom-mm ~]# mkfs.ext4 /dev/vdb

Step4. Command to create a directory for additional disk. Then Map drive using the following command.
[root@zcom-mm ~]# mkdir /newdata
[root@zcom-mm ~]# mount /dev/vdb /newdata

Step5. Edit the file so the Auto Detect disk is always found when booting the machine.
[root@zcom-mm ~]# vim /etc/fstab

By adding this command to the bottom line and then save. Or look at the picture below.
/dev/vdb /newdata ext4 defaults 0 0

Step6. Now, we can check additional disk from the server.

Thank you!!!