
How to Install Apache Service and Addon Domain on CentOS Server?
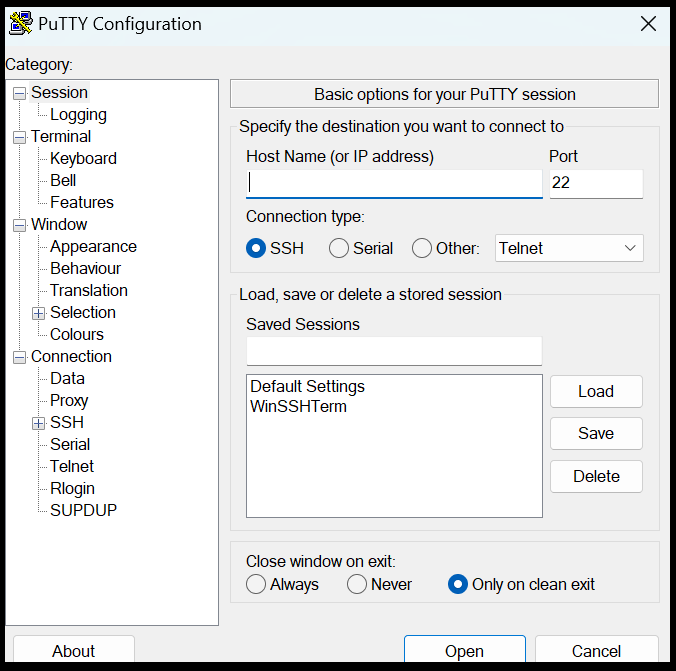
Step1. Login to the Cloud Server with SSH access. Server IP- 123.45.67.89 (login with your cloud VPS server IP)
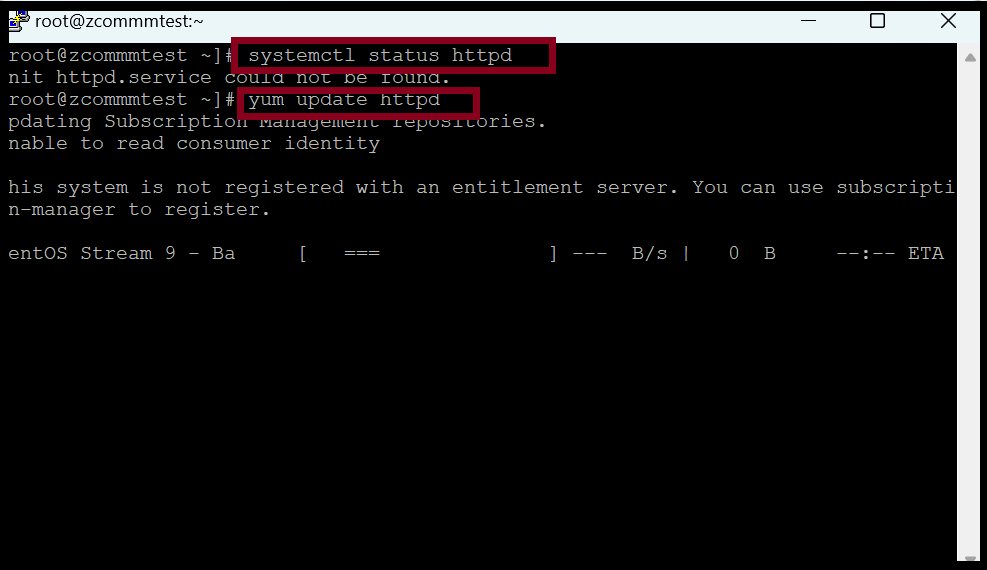
Step2. Firstly, we need to check install ready or not Apache service in our service. After that we will install latest version.
root@123-45-67-89 :~# systemctl status httpd
root@123-45-67-89 :~# yum update httpd
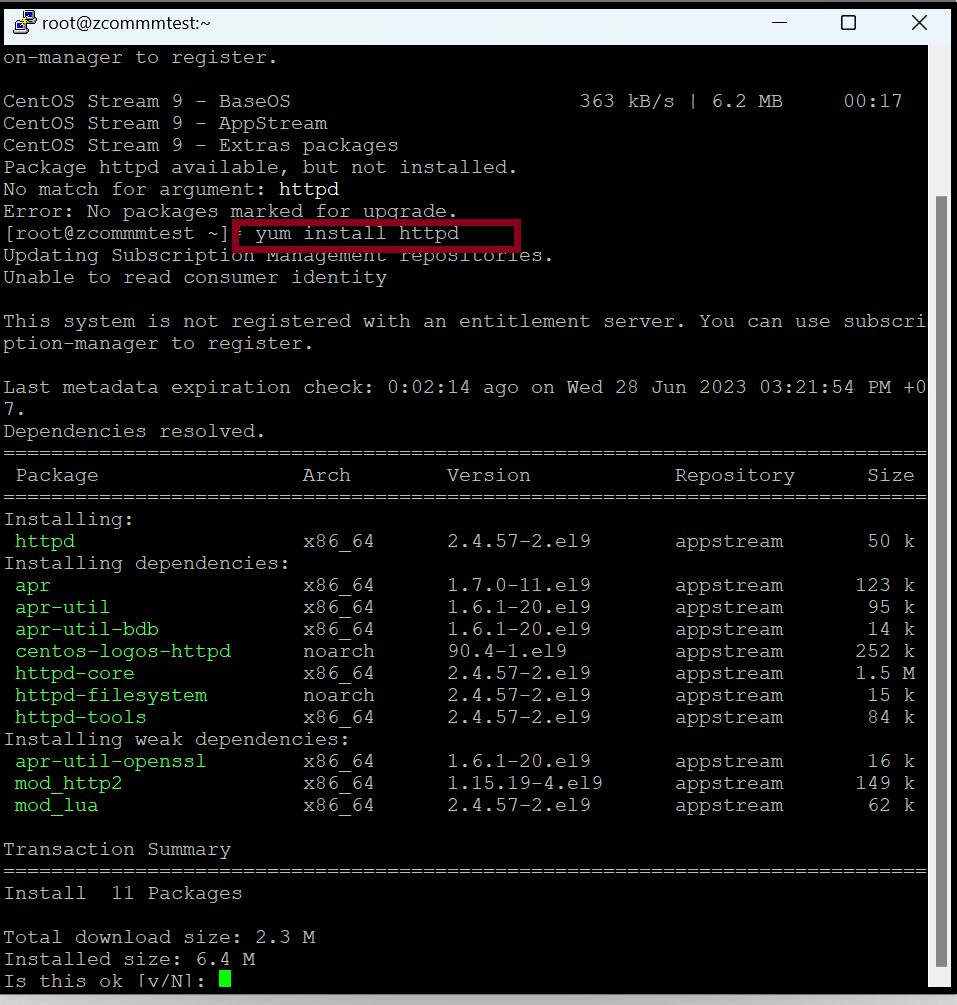
root@123-45-67-89 :~# yum install httpd
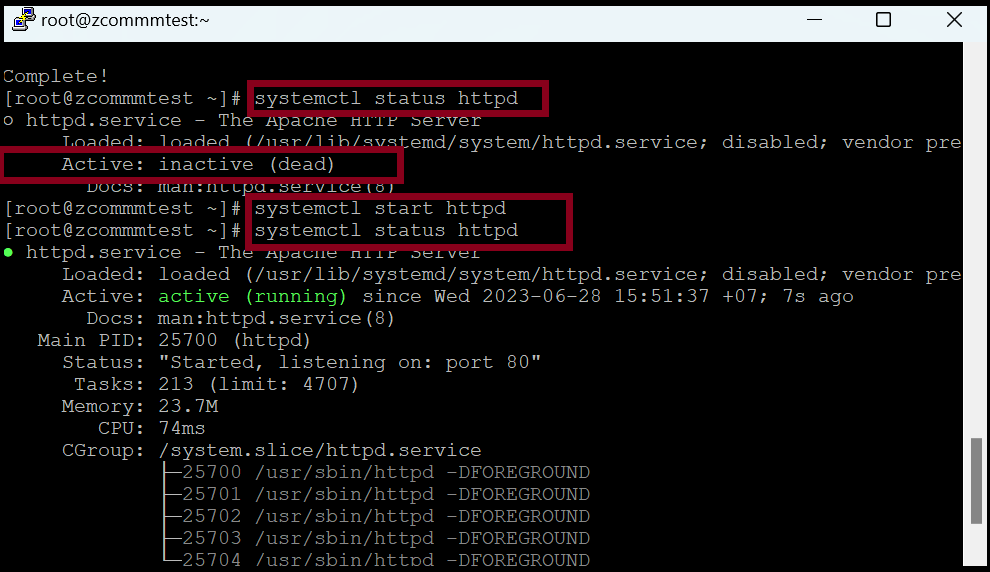
Step3.If we’ve finished the Apache installation, we need to check the service status.
root@123-45-67-89 :~# systemctl status httpd
root@123-45-67-89 :~# systemctl start httpd
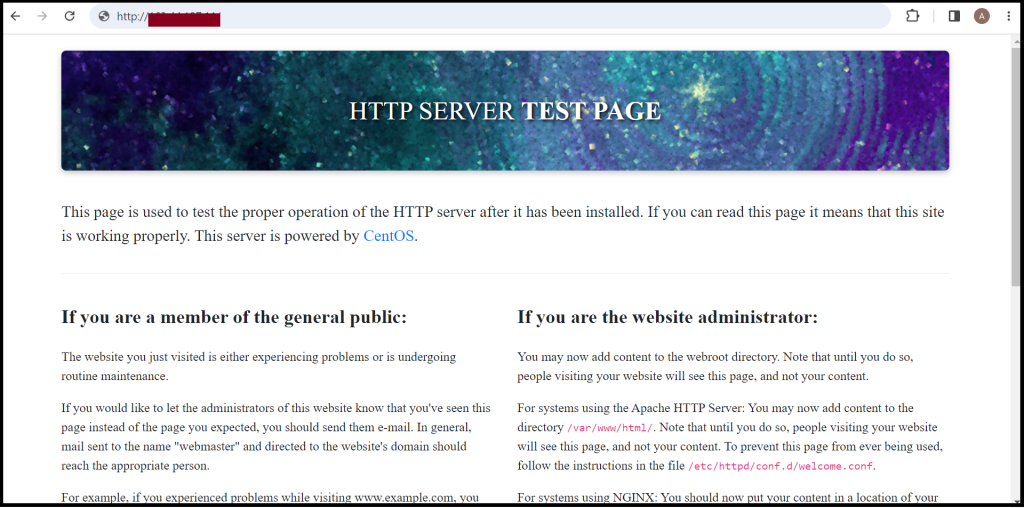
If we’ve finished the Apache installation, the firewall must be turned on to be able to use HTTP using the command. Then we can check the default webpage from the URL.
root@123-45-67-89 :~# firewall-cmd –permanent –add-service=http
root@123-45-67-89 :~# firewall-cmd –reload
root@123-45-67-89 :~# systemctl start httpd

You can check with Server_IP (or) localhost.
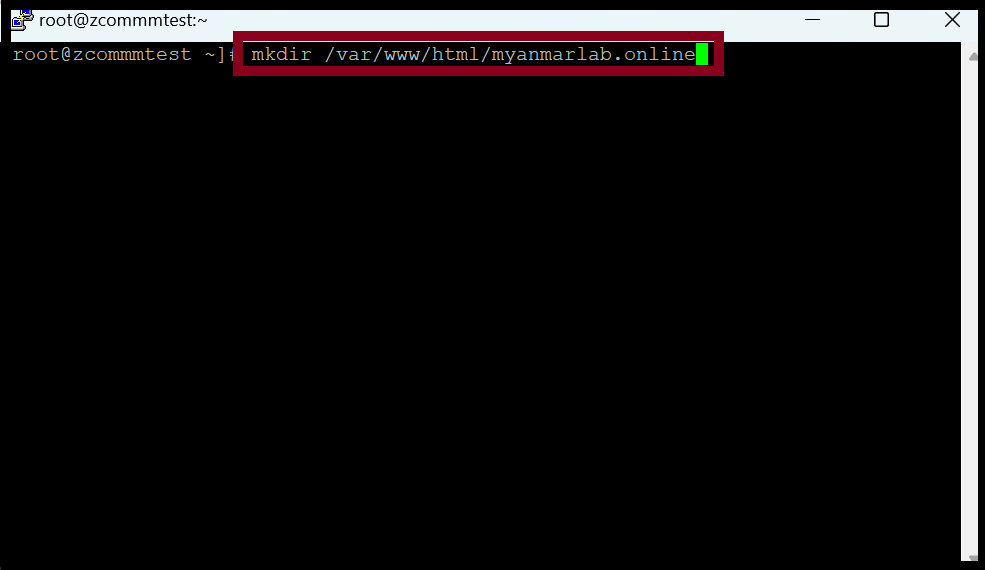
Step4. If we want to connect with our own domain, we need to add the domain to the Apache webserver.
root@123-45-67-89 :~# mkdir /var/www/html/yourdomain_name/
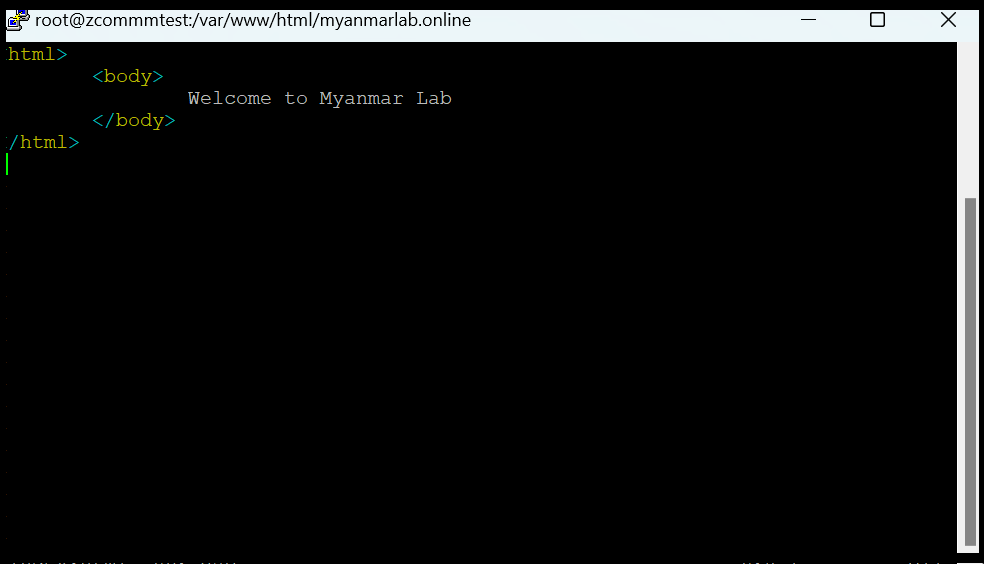
root@123-45-67-89 :~# vim /var/www/html/yourdomain_name/index.html
<html>
    <body>
        Welcome to Myanmar Lab.
    </body>
</html>
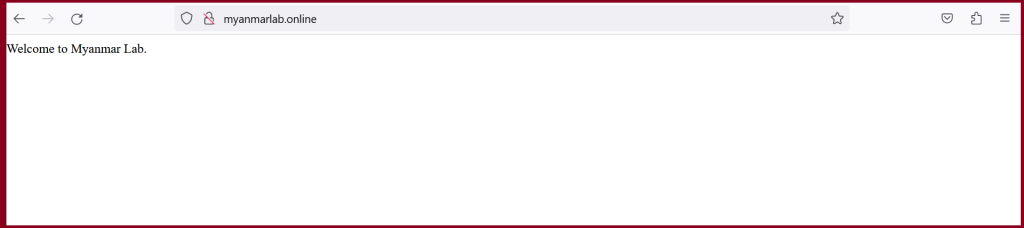
Step5. Now we can check with our domain name.

Step6. If we’ve finished the domain addon process in the server, we need to adjust the config file in the Apache server.
root@123-45-67-89 :~# vim /etc/httpd/conf.d/ myanmarlab.online.conf
<VirtualHost *:80>
ServerAdmin [email protected]
ServerName myanmarlab.online
ServerAlias www.myanmarlab.online
DocumentRoot /var/www/html/myanmarlab.online/
</VirtualHost>
Step7. Now we can access the website with the domain name.
Thank you!!!