
How to Order Database Storage in My Z.com Account?
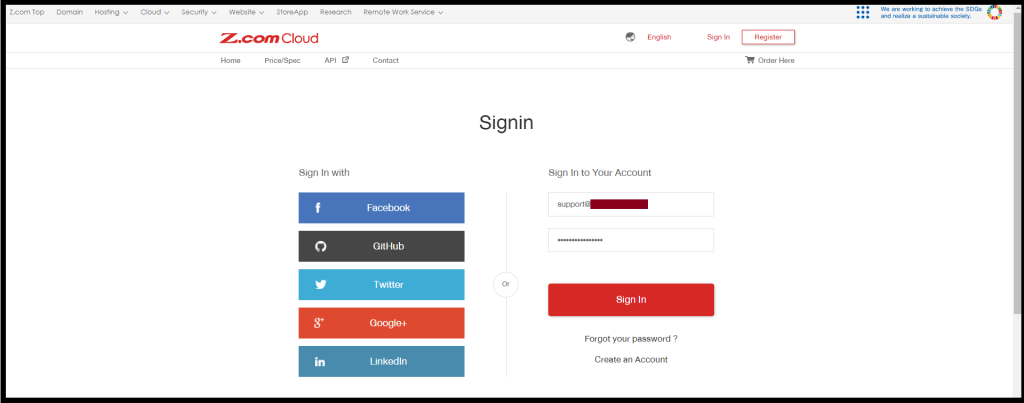
Step1. Log in to the z.com account using the registered email address. https://cloud.z.com/mm/signin
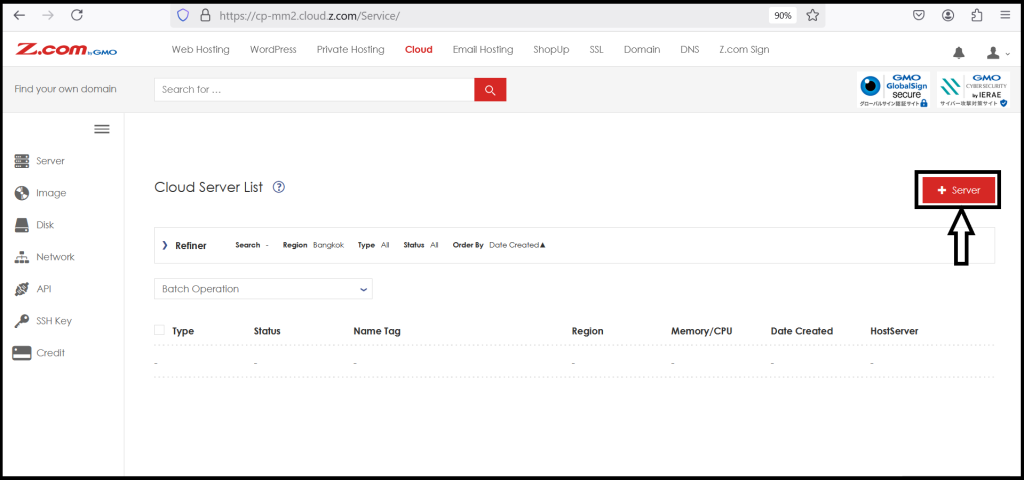
Step2. Click the “Cloud” Tab from your My Z.com Portal. Then “+Server”.
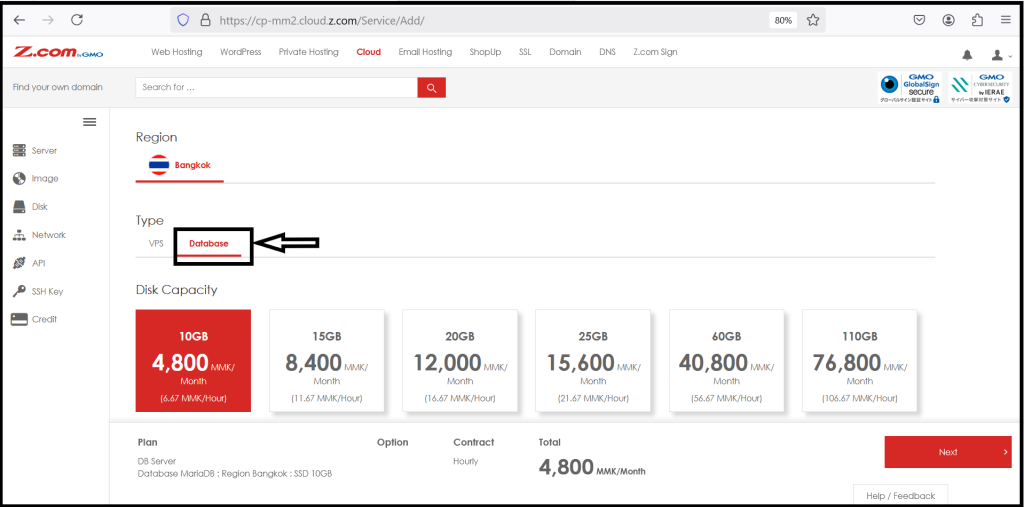
Step3. Now we can order the “Database” Storage that we require storage.
After ordering completely, the database server is now showing in your account.
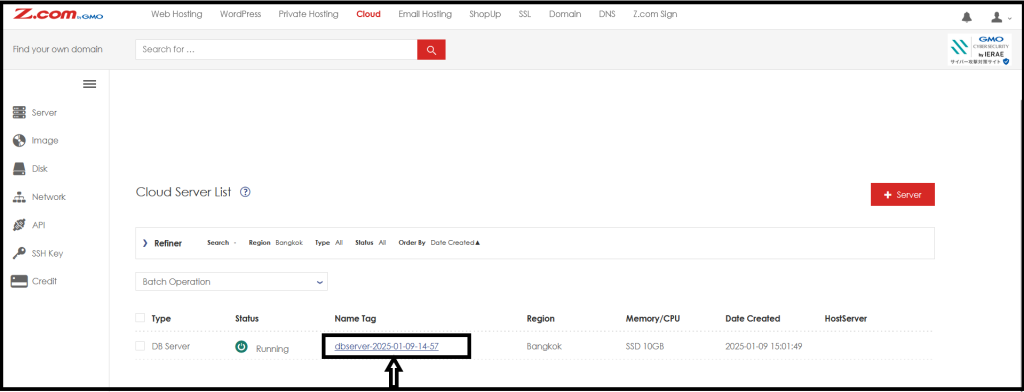
Step4. Now we can check the Database Server information as follows.
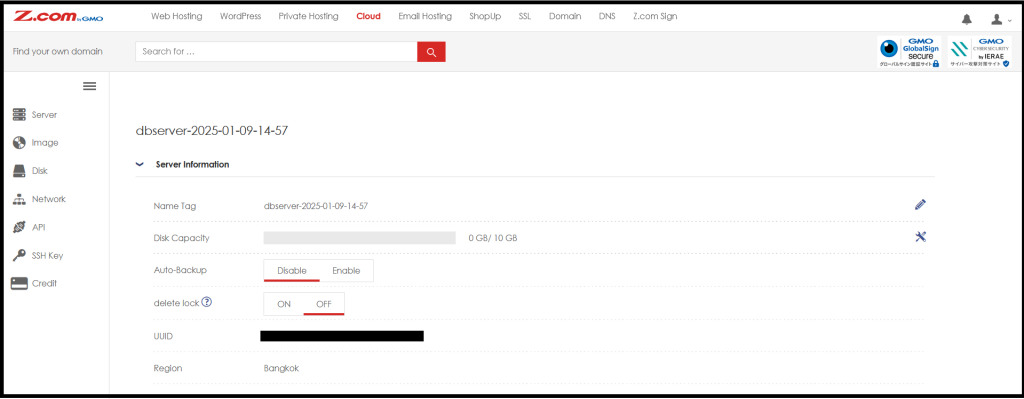
Before we use the database, we need to create a new “Database”, “Database user” and “PHPMyAdmin” account.
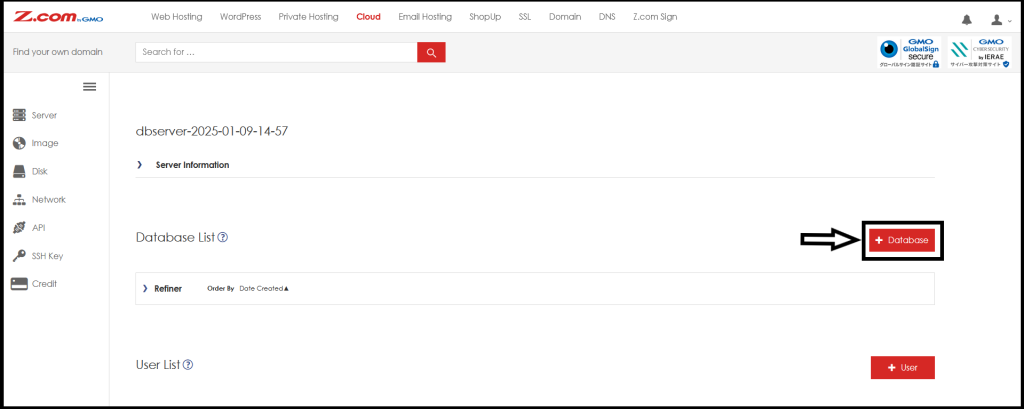
Choose “+Database” to create a Database.
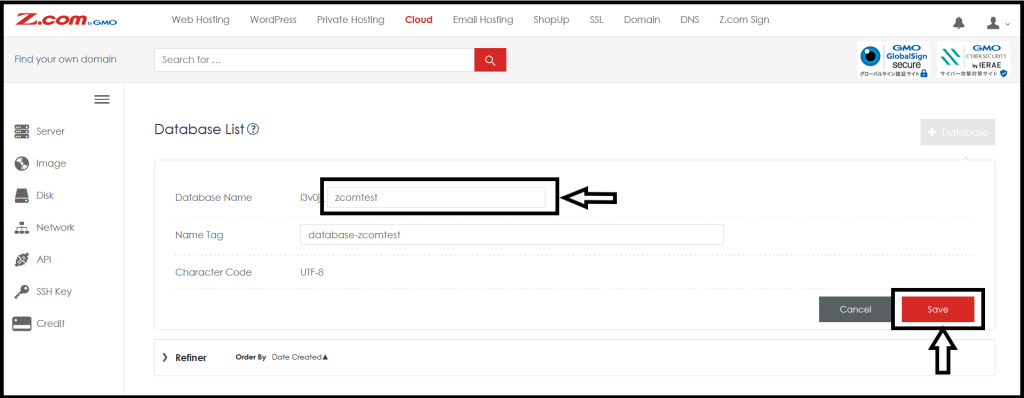
To create a database, set up a DB name you want to use.
Step5. You can check the database information such as Database Name, Capacity, Port, and Hostname.

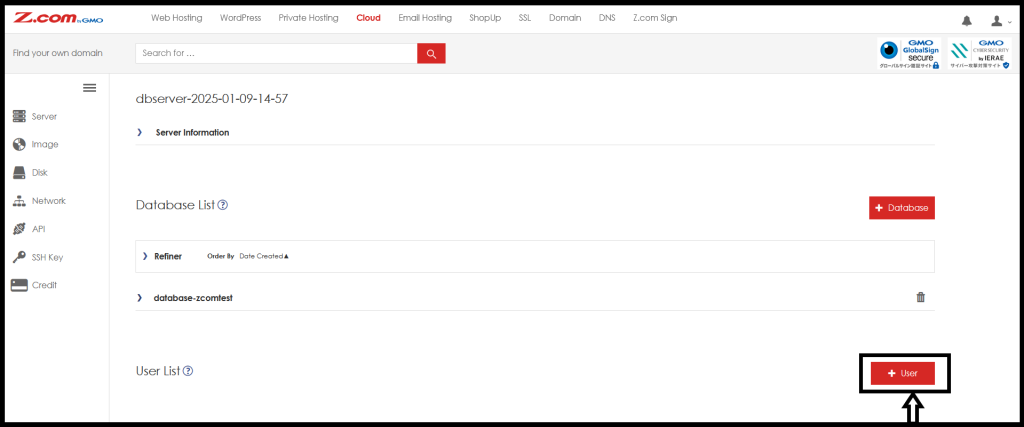
After creating the database, you must create the database user to use the service.
And Click “+User“
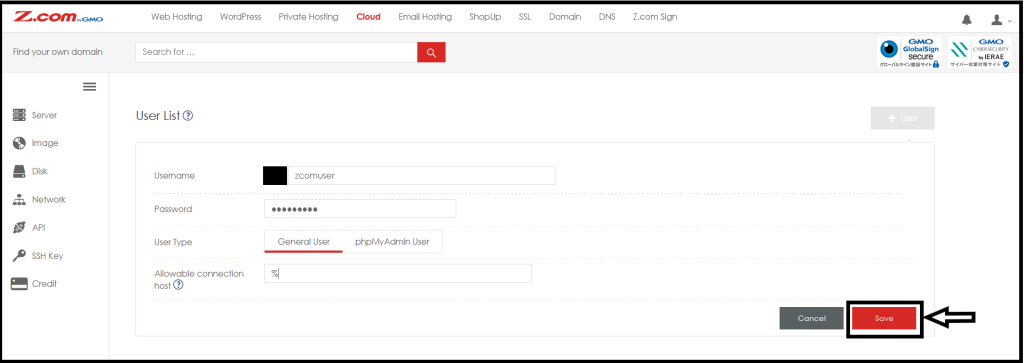
In User creation, you can create two types of users. But we will create a general user in this user manual.
Now, set up a new db username and password and Save.
Step6. If you finished the database user creation process, you need to assign “database” for this user.
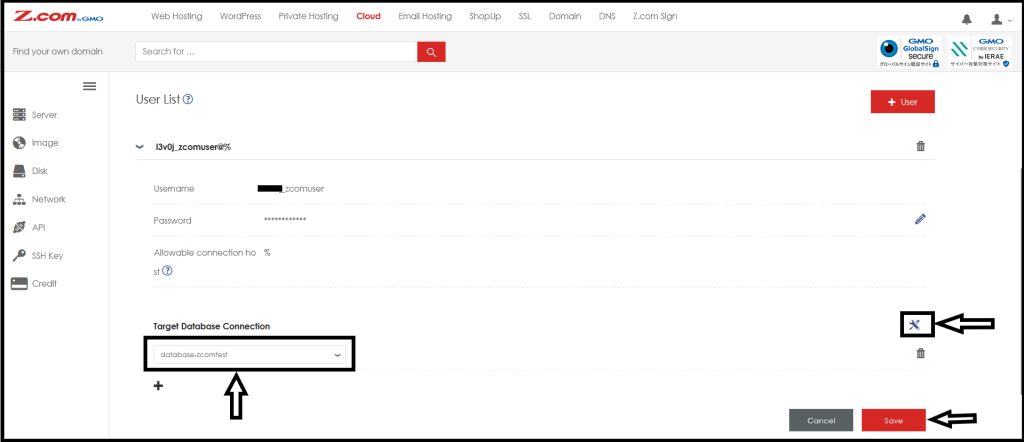
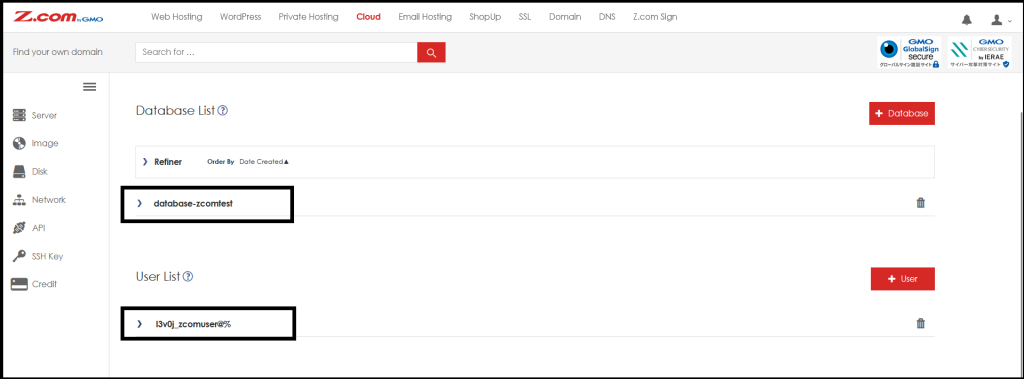
Now, you created a Database and Database User successfully.
Thank you!!!!!